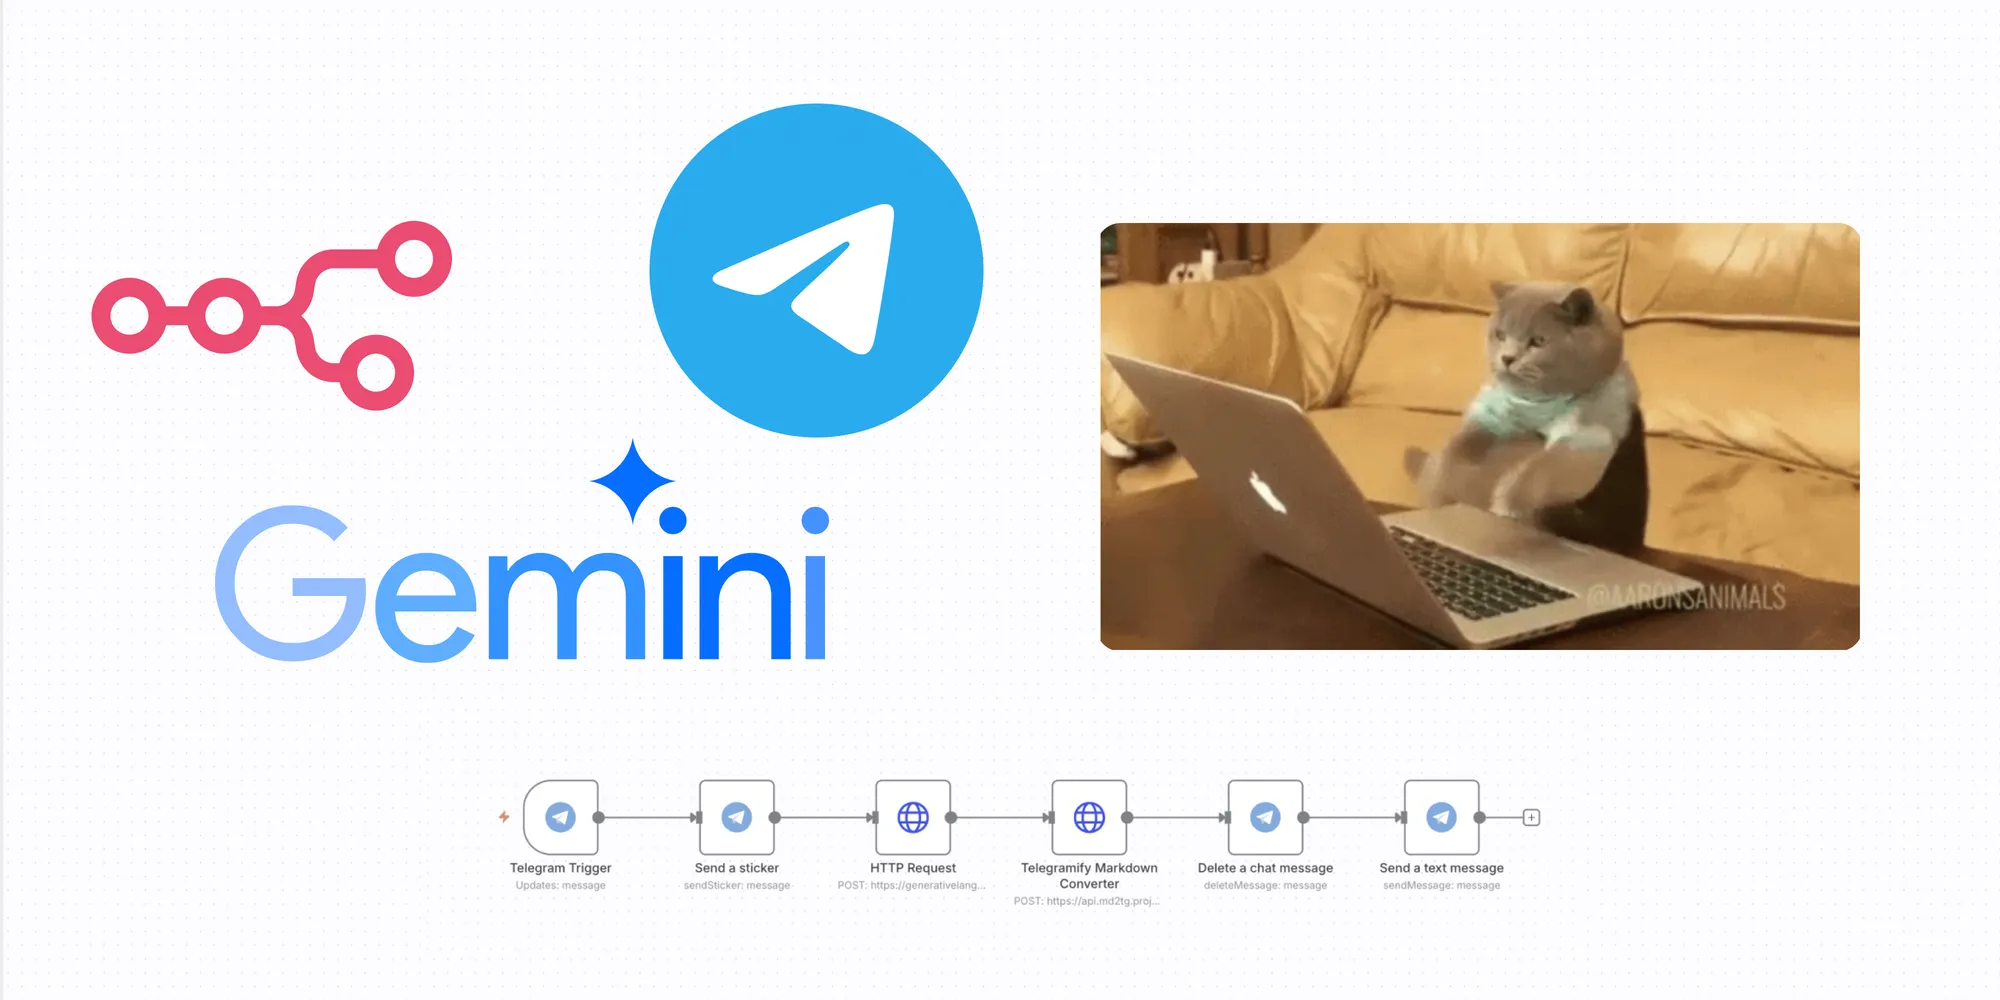
Building a YouTube Summary Bot with n8n + Telegram + Gemini
This guide will walk you through creating a YouTube summary bot using n8n, Telegram bot, and Gemini that works even without subtitles - completely free!
Directly Use Workflow
Prerequisites
- A running n8n instance
- A Telegram account
- A Google AI Studio account
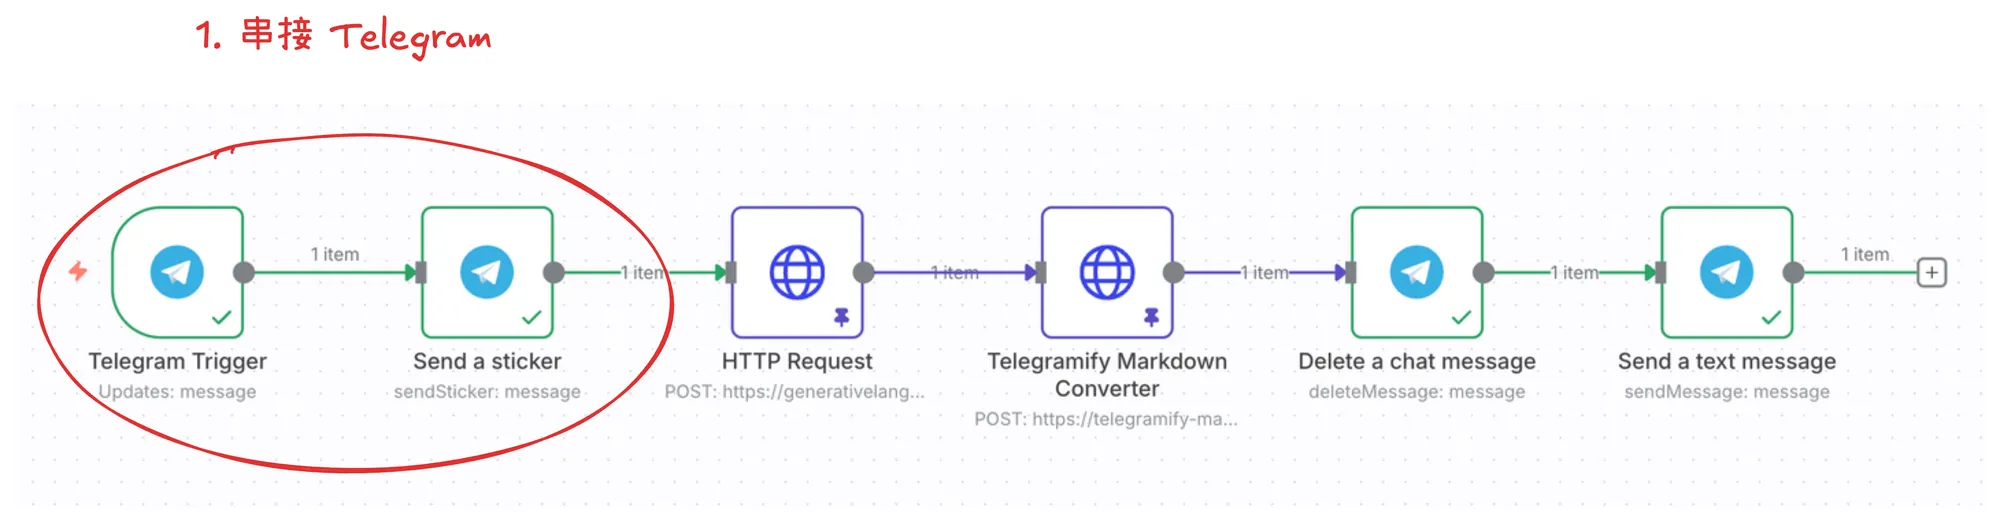
Step 1: Integrating Telegram
Getting an API Token from Bot Father

Click this link to use it directly on Telegram.
Getting an API Token requires 3 steps:
- Execute the
/newbotcommand
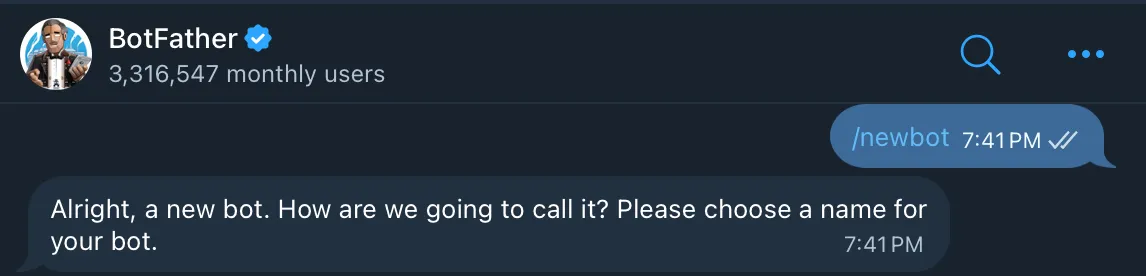
- Enter a
name: This is the display name in the chat room, don't worry about it being taken by others
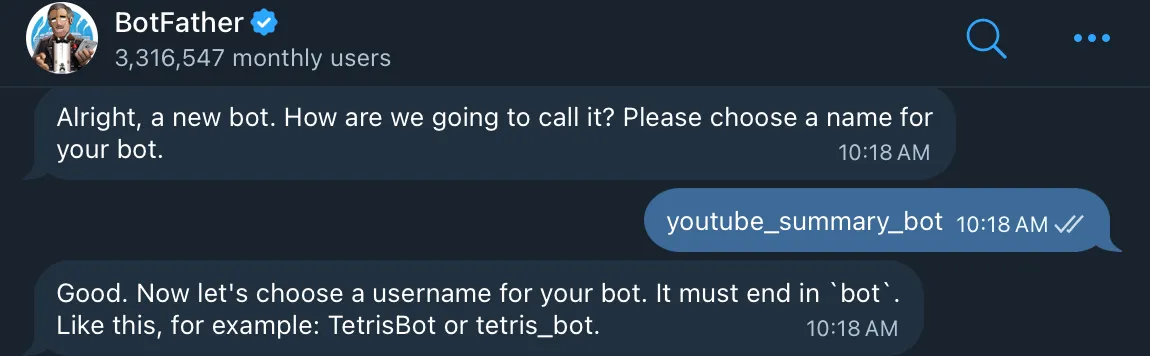
name 的範例顯示方式- Enter a
username: This is the bot's unique ID. If it's already taken, you'll need to choose another name, and it must end withbot
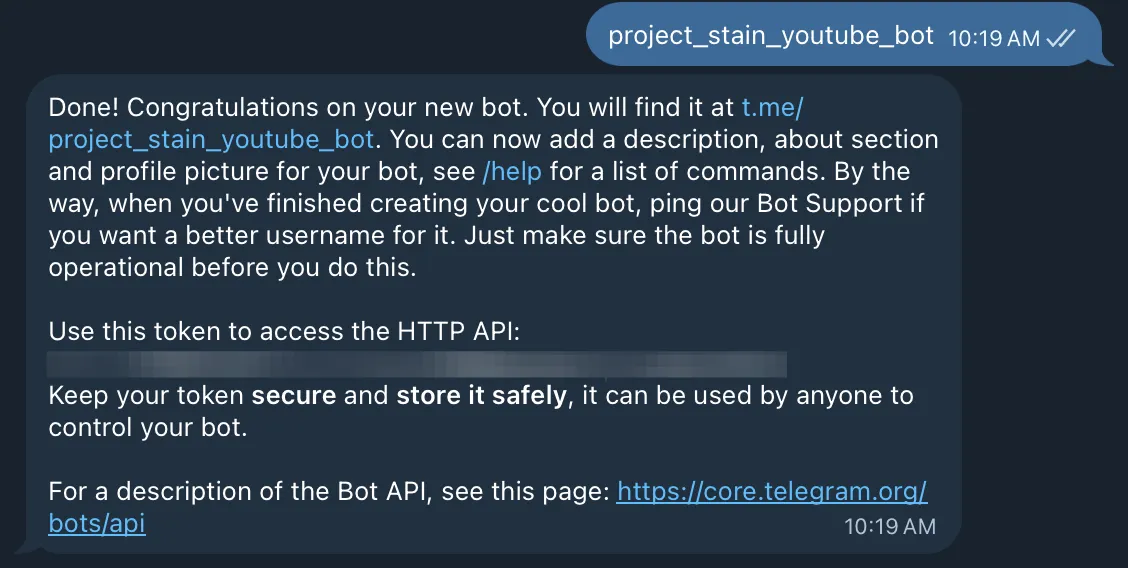
The API Token format will be: 8888800000:ABCDE4lfG5i0NVaAxnozHeafaK2y-pNuHFA
BOT_ID:BOT_ALPHANUMERIC_PART
After obtaining the API Token, remember not to leak it to others or publish it on public networks.
In the next step, we'll add the Credential to the n8n Telegram node.
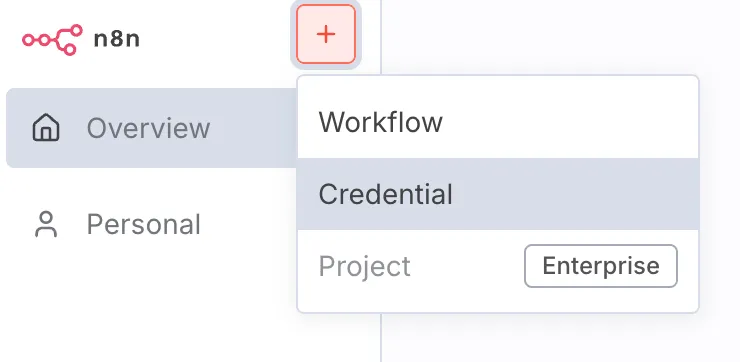
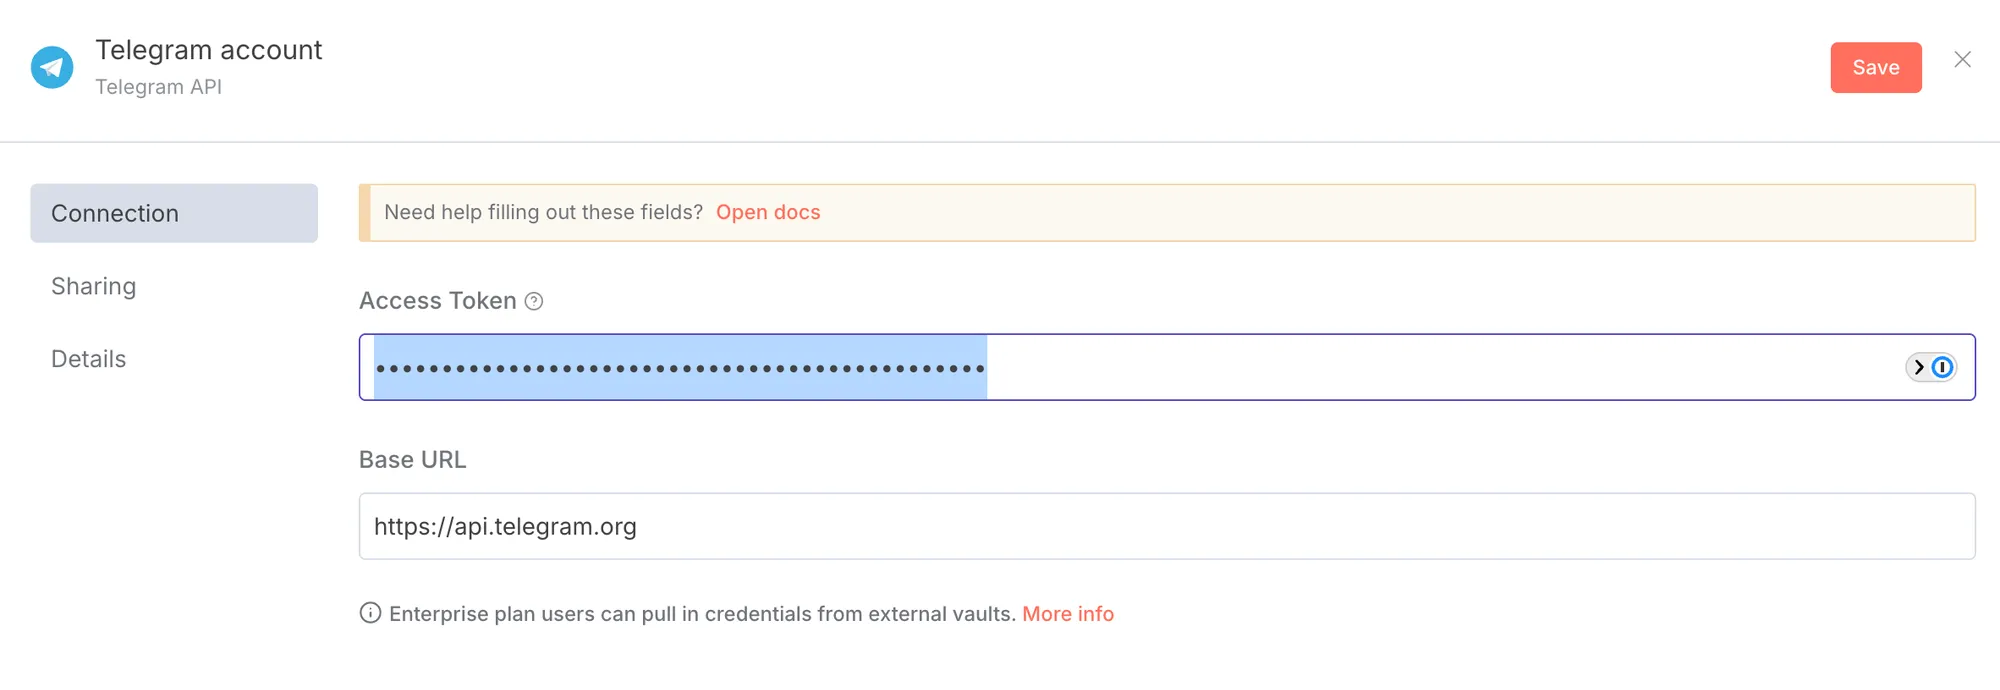
Adding n8n Telegram Credential
- In your n8n instance, select to add a Credential
- Find Telegram and click to add
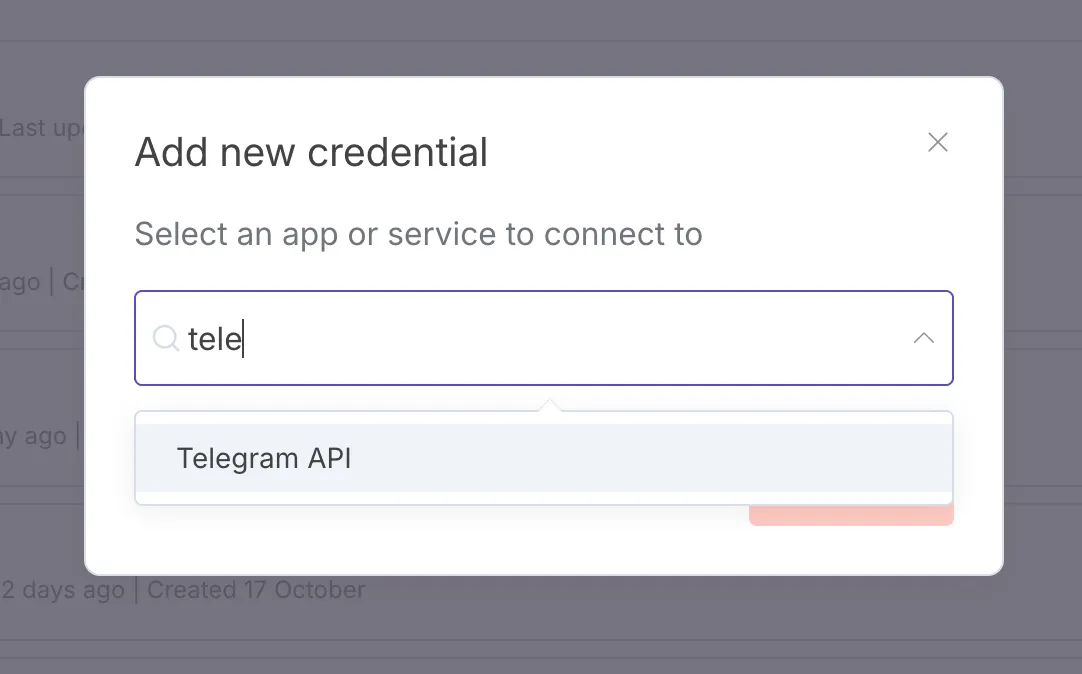
- Fill in the
Access Tokenfield with the API Token you just obtained, and Save
Adding Telegram Node: Receiving Messages and Sending Stickers
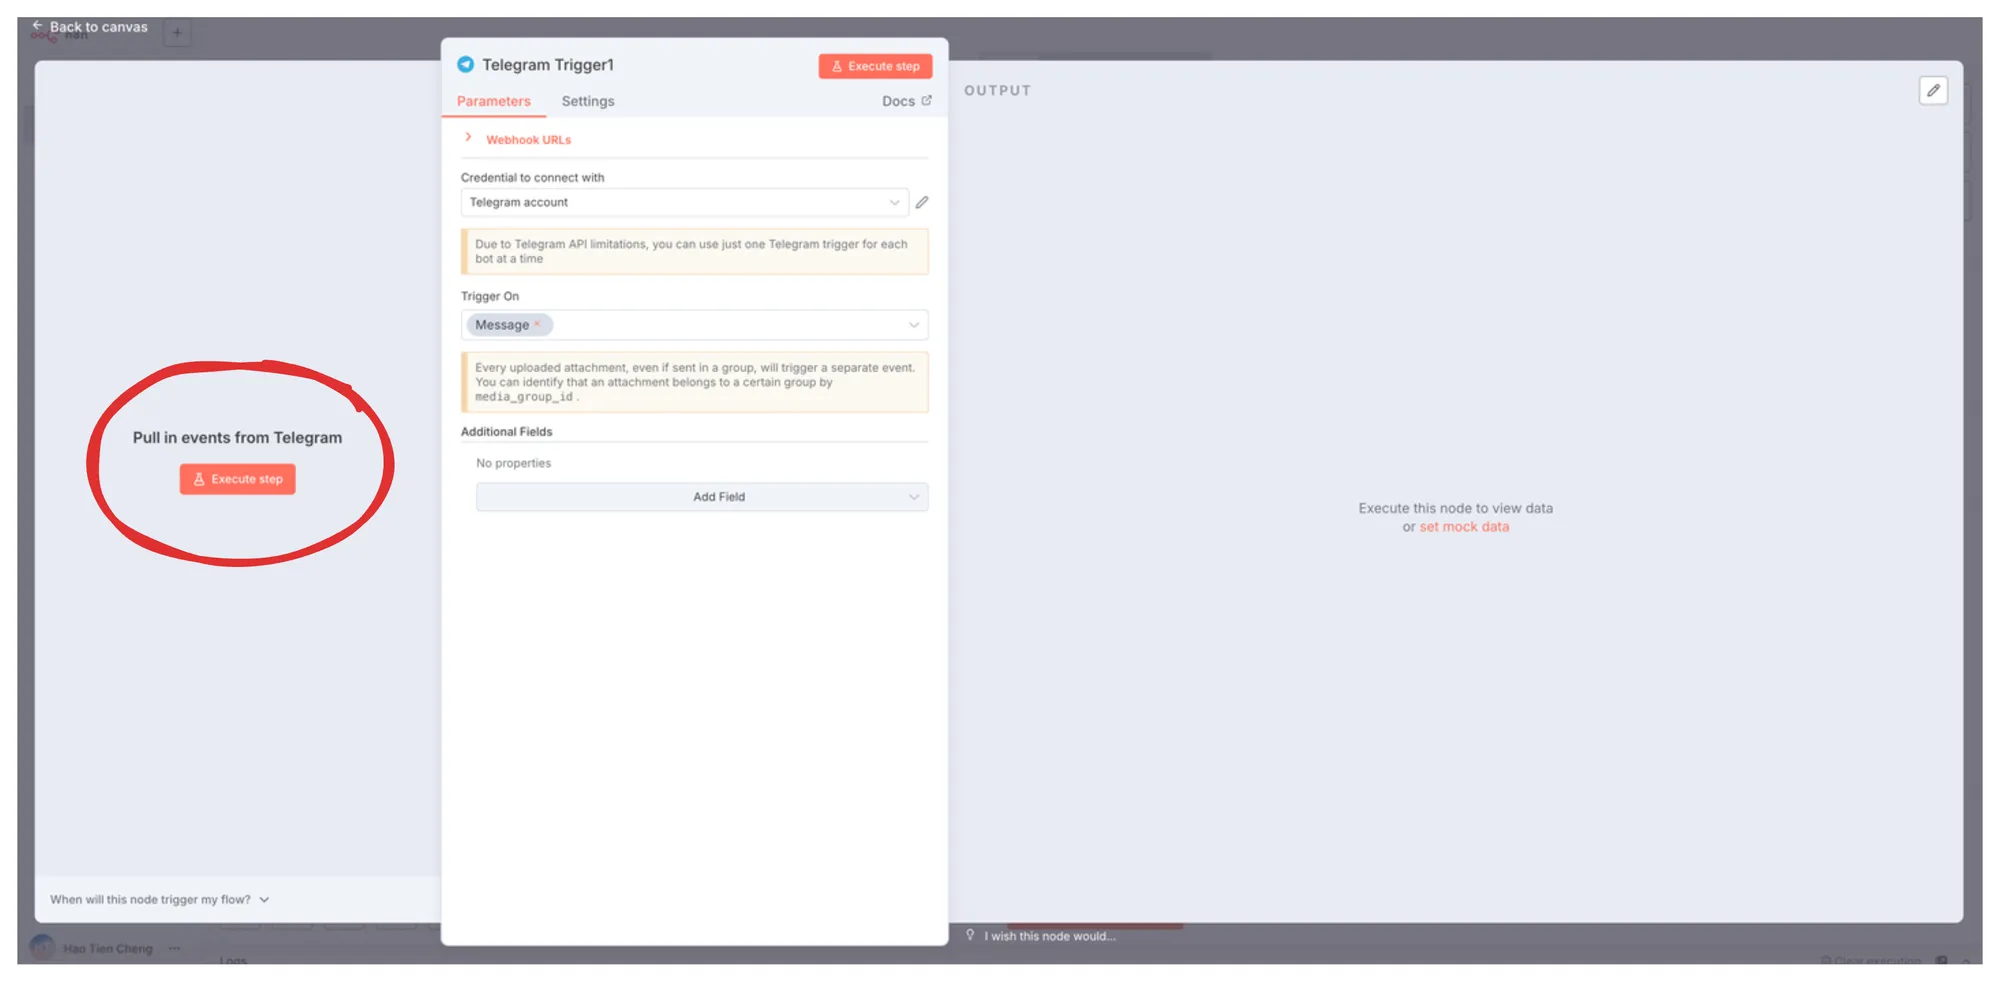
Add Telegram Trigger Node
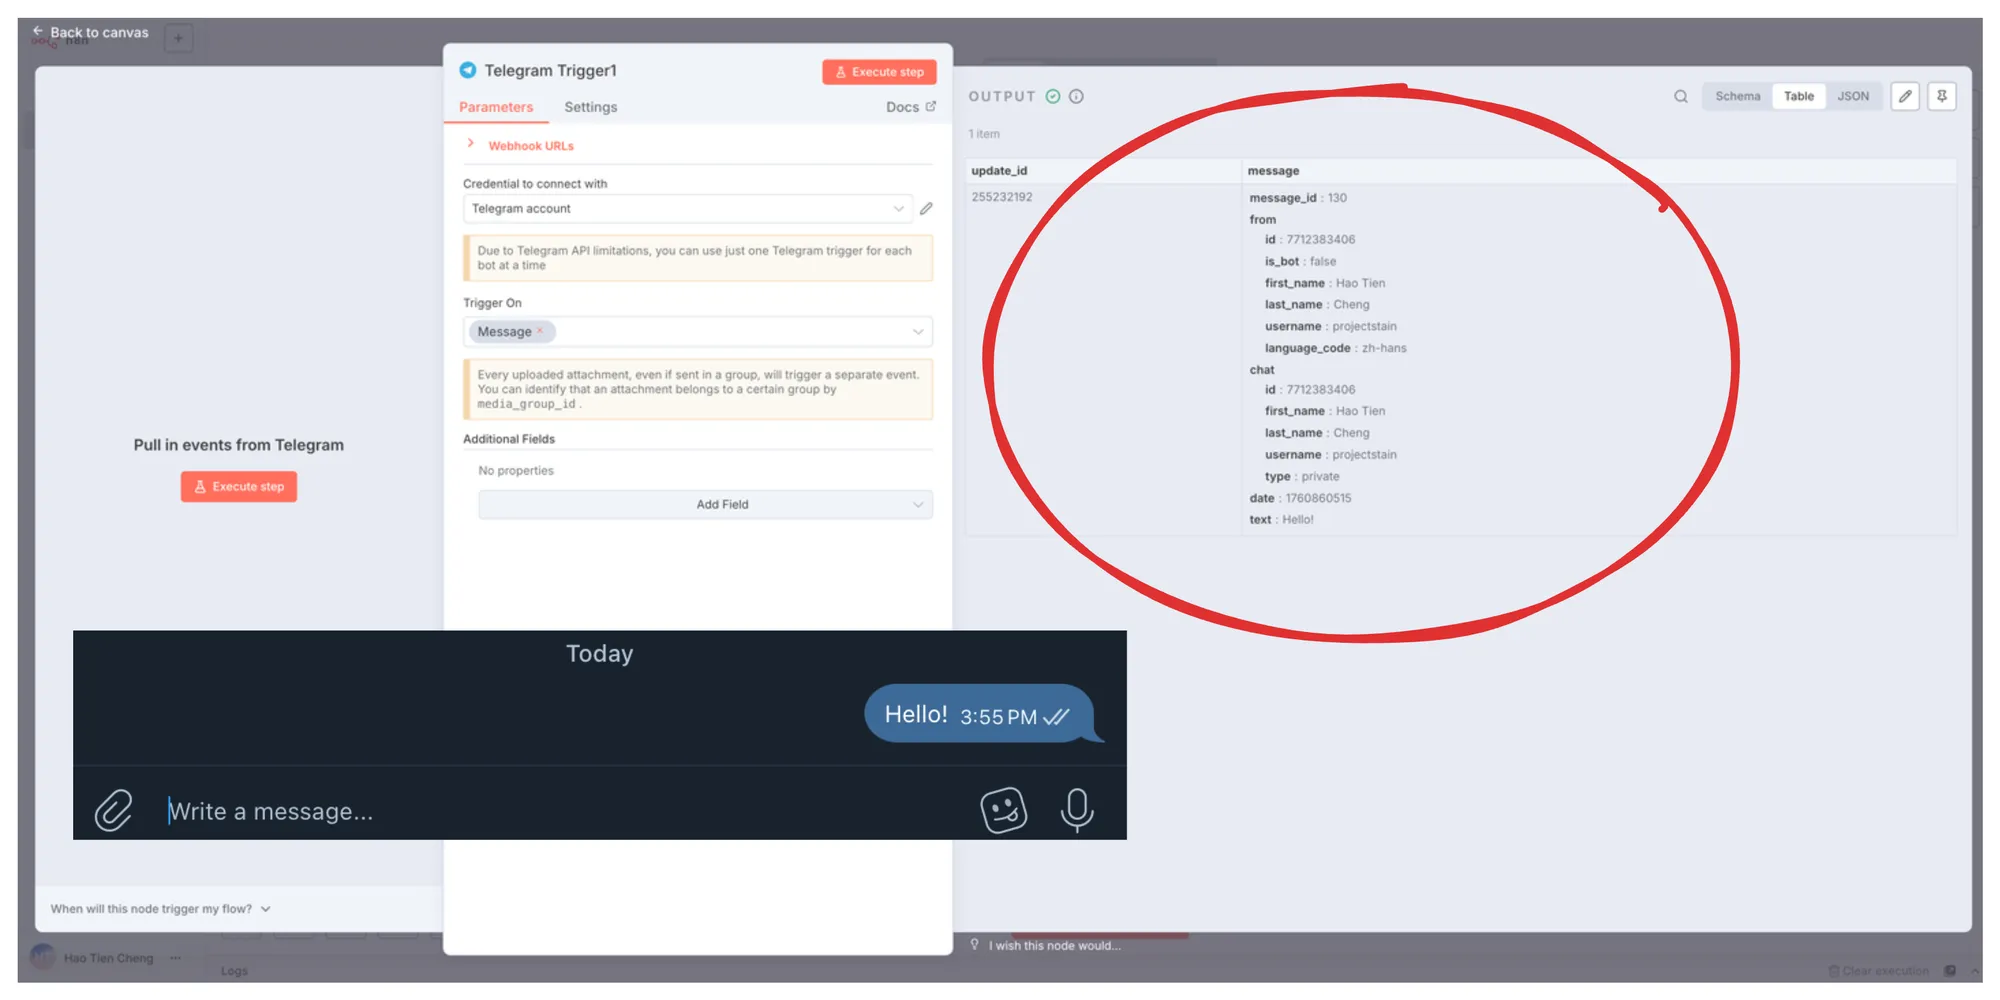
After adding the Telegram Trigger, we can try Pull Event, which means trying to send a message to the bot.
Here we can directly send a YouTube link to Telegram, which will be convenient for subsequent testing.
Example link to send: https://www.youtube.com/watch?v=CfM7JHJWe58
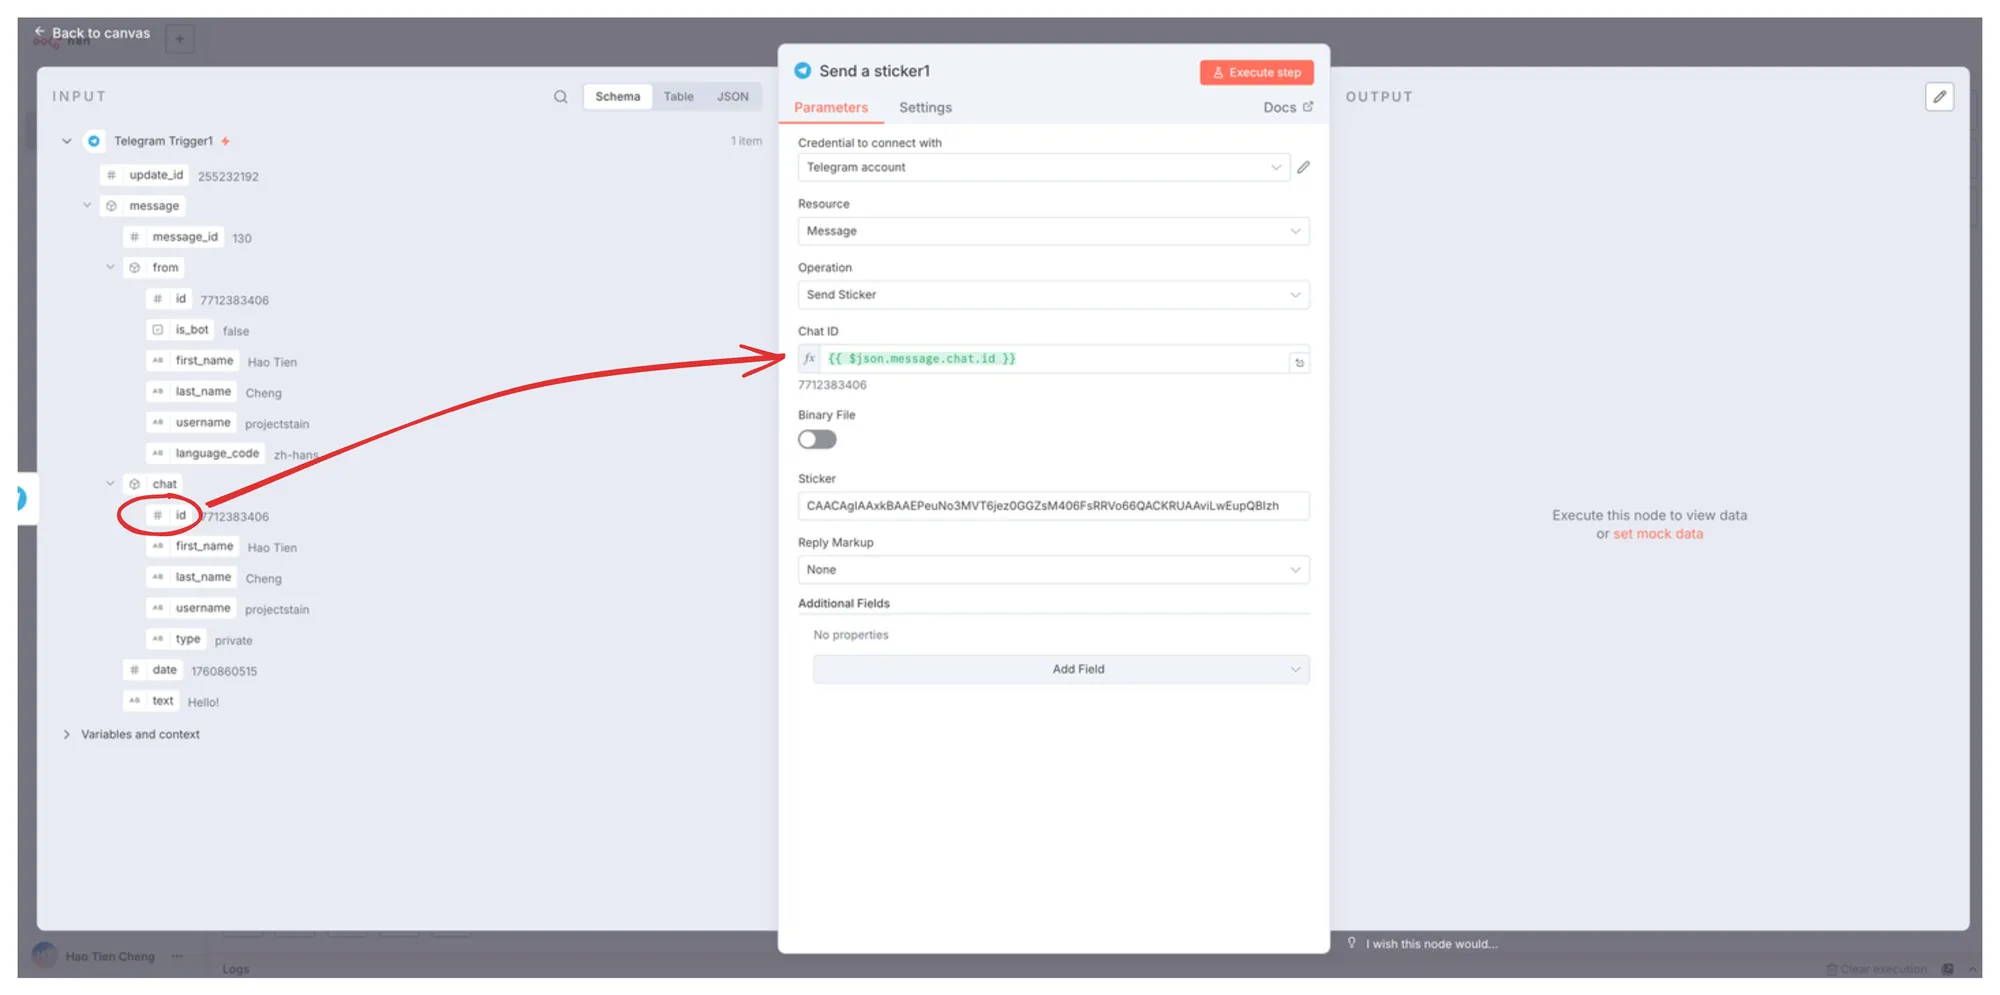
Next, we'll create a Telegram Send a Sticker node and drag the corresponding Chat ID to the designated field.
Copy your favorite sticker ID to the Sticker field:
CAACAgIAAxkBAAEPeuNo3MVT6jez0GGZsM406FsRRVo66QACKRUAAviLwEupQBIzh-Q46DYE


If everything works correctly, we'll move to the next key node: Gemini Integration.
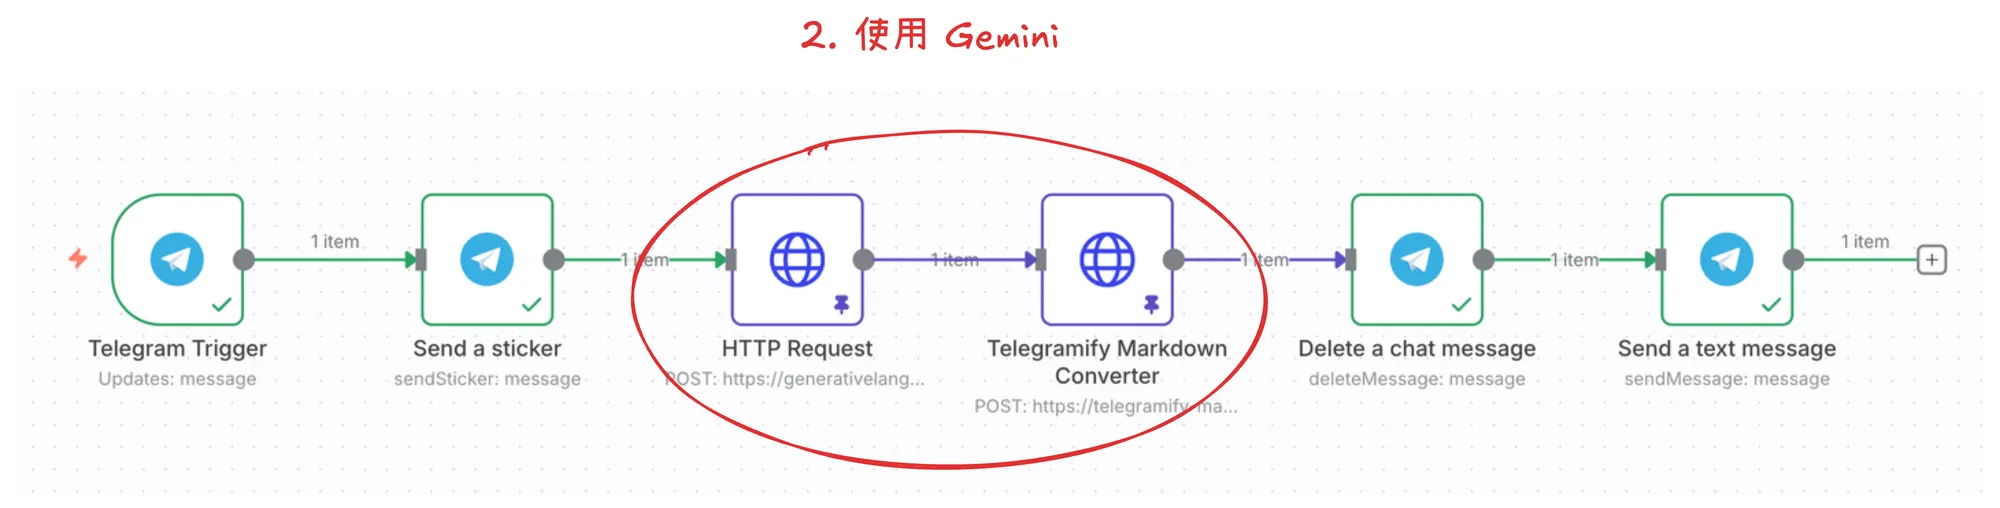
Step 2: Using Gemini
This step is the most crucial of all our nodes, but it all depends on you having registered an account at Google AI Studio and obtained an API Key.
Don't worry, as long as you have a Google account, registration and obtaining an API Key can be completed in just a few steps.
Google AI Studio currently doesn't even charge additional fees, and provides very generous free quotas.
Getting a Google AI Studio API Key
This step is very simple:
- Log in to Google AI Studio with your Google account
- Click `Get API key` in the lower left corner
- You'll need to create a new project first
- The project here is to help you better manage your API keys and view usage for different projects
- Finally, create an API Key and prepare to fill it into n8n's Credential
Again, don't make your API Key public or provide it to others
Adding Credential
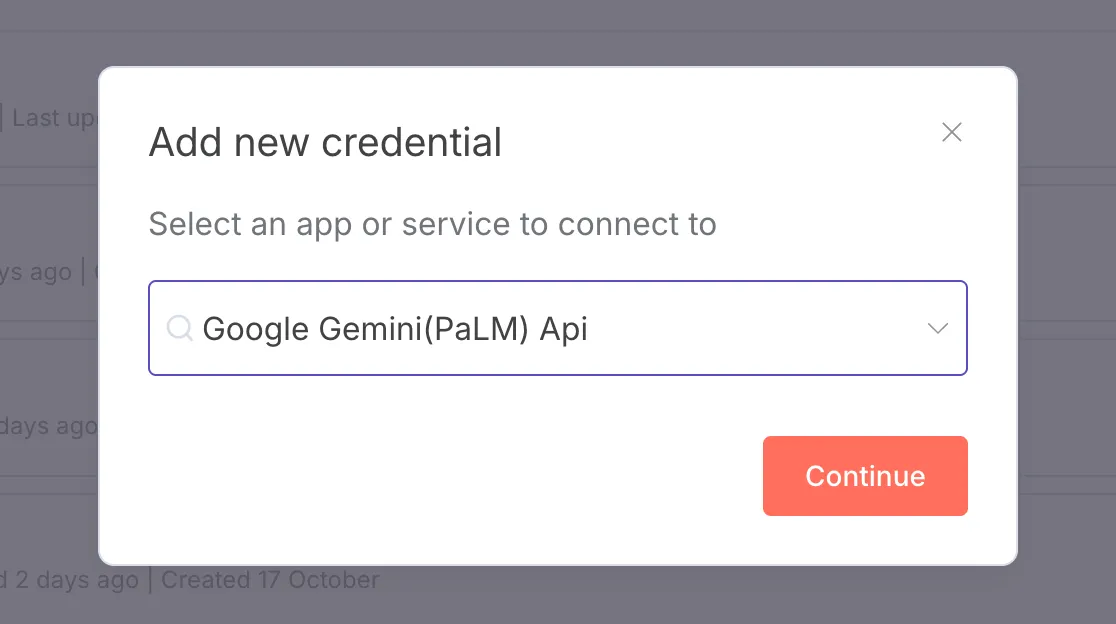
Fill in the API Key you just copied into the corresponding field.
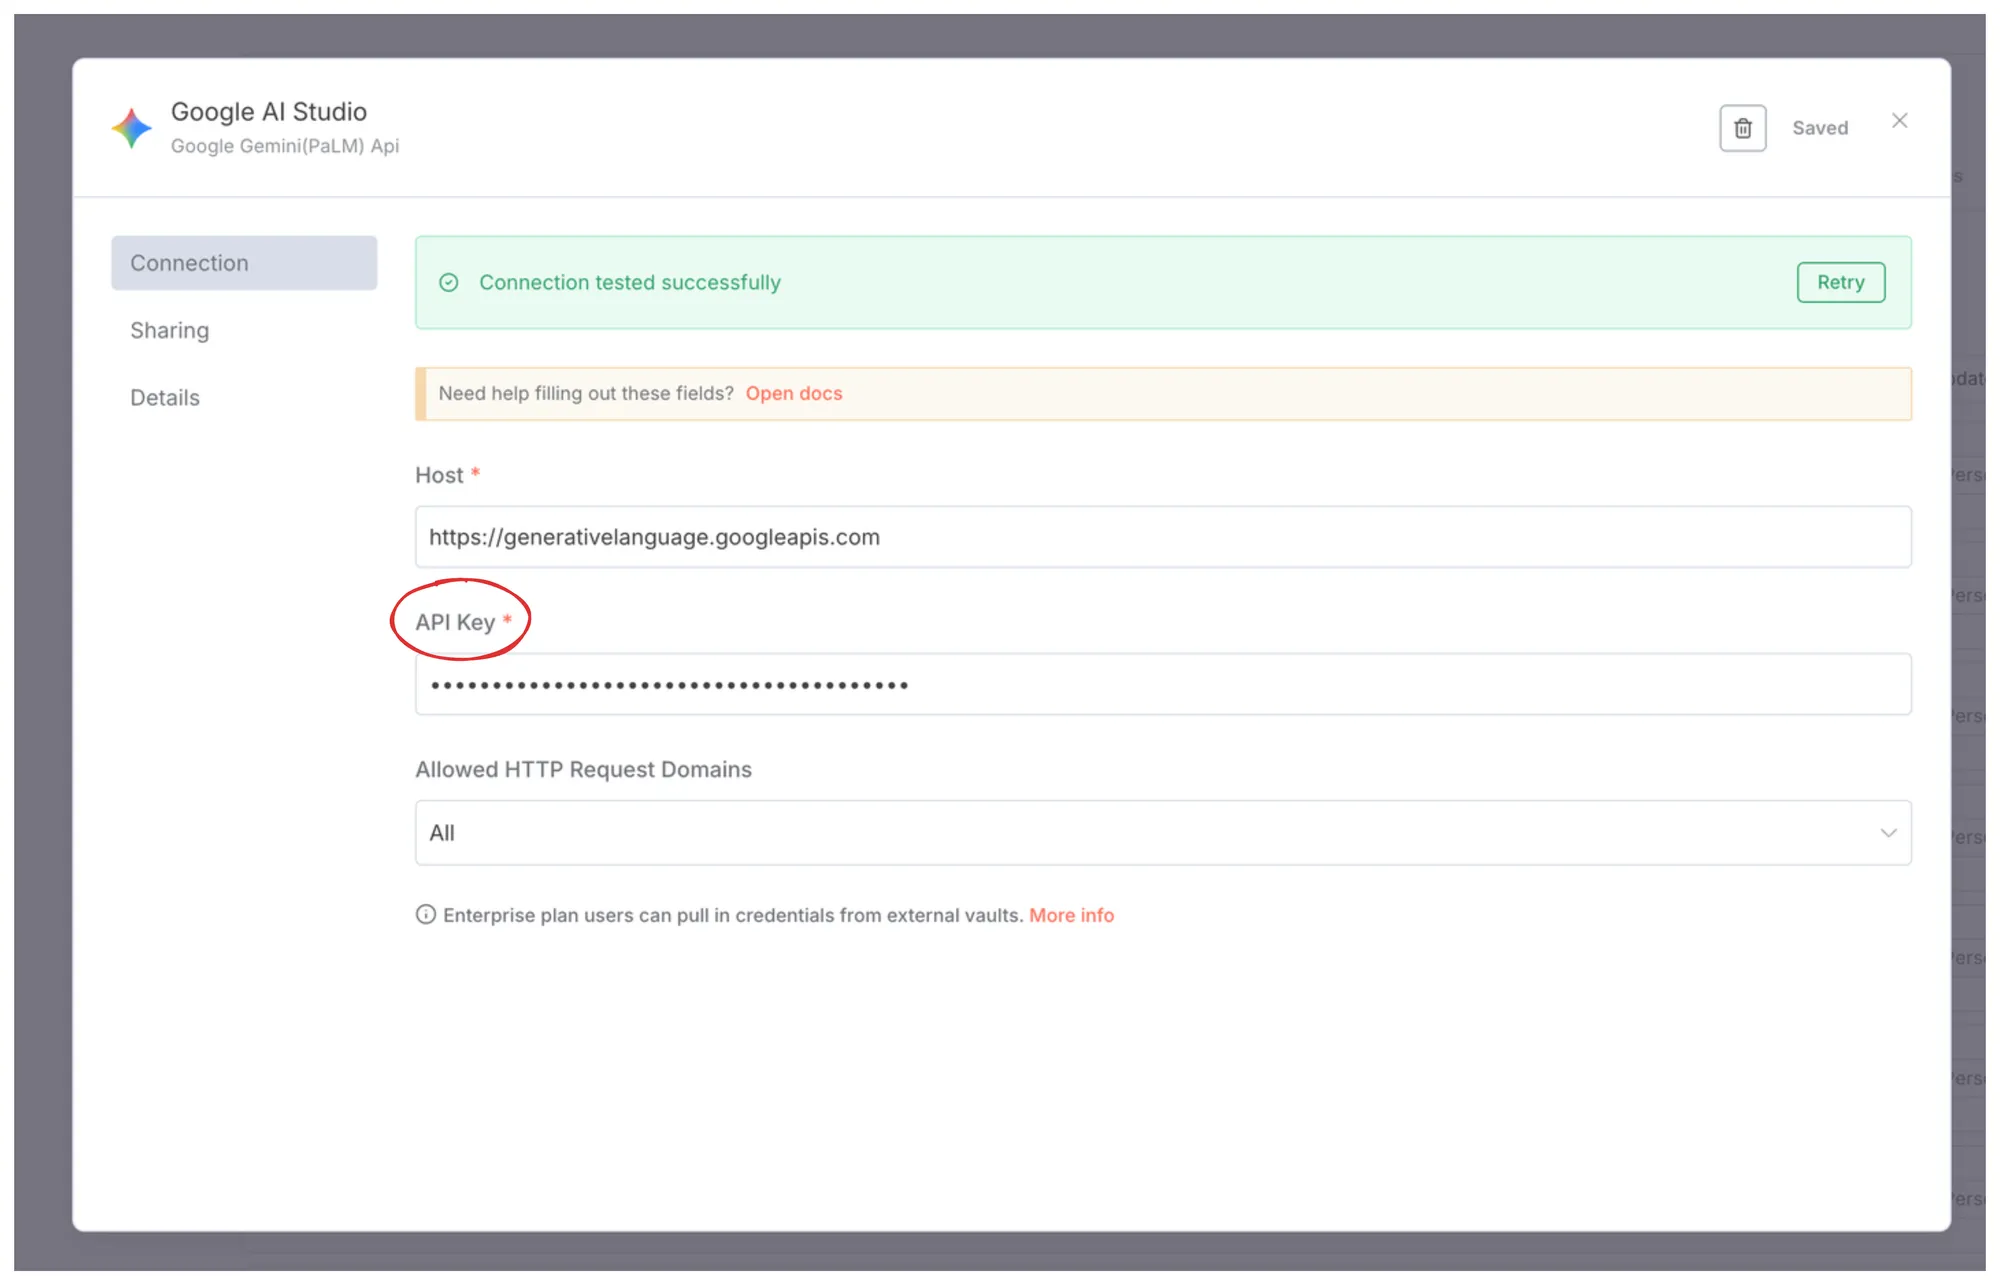
After saving, if Connection tested successfully appears at the top, congratulations! You can now use Gemini's services in n8n!
Adding HTTP Node
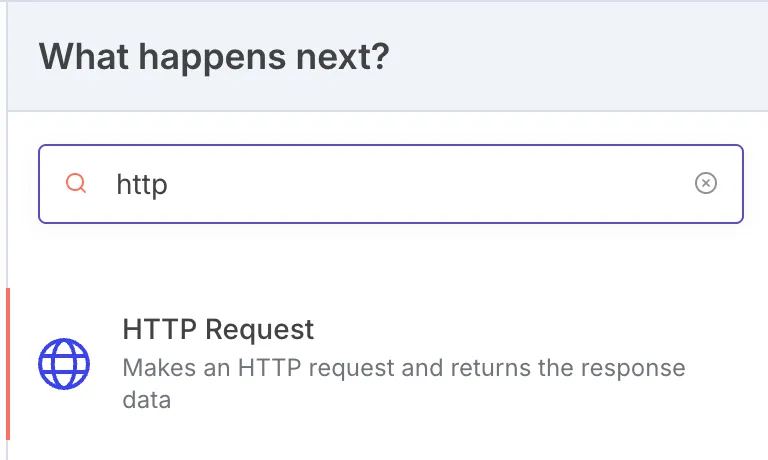
The following steps will be more complex. Since the official n8n Gemini node doesn't yet have the ability to directly retrieve YouTube transcripts, we'll interact with Gemini directly using API Requests.
Using Gemini API Video Understanding Feature

Let's fill in the required content step by step into the HTTP Node:
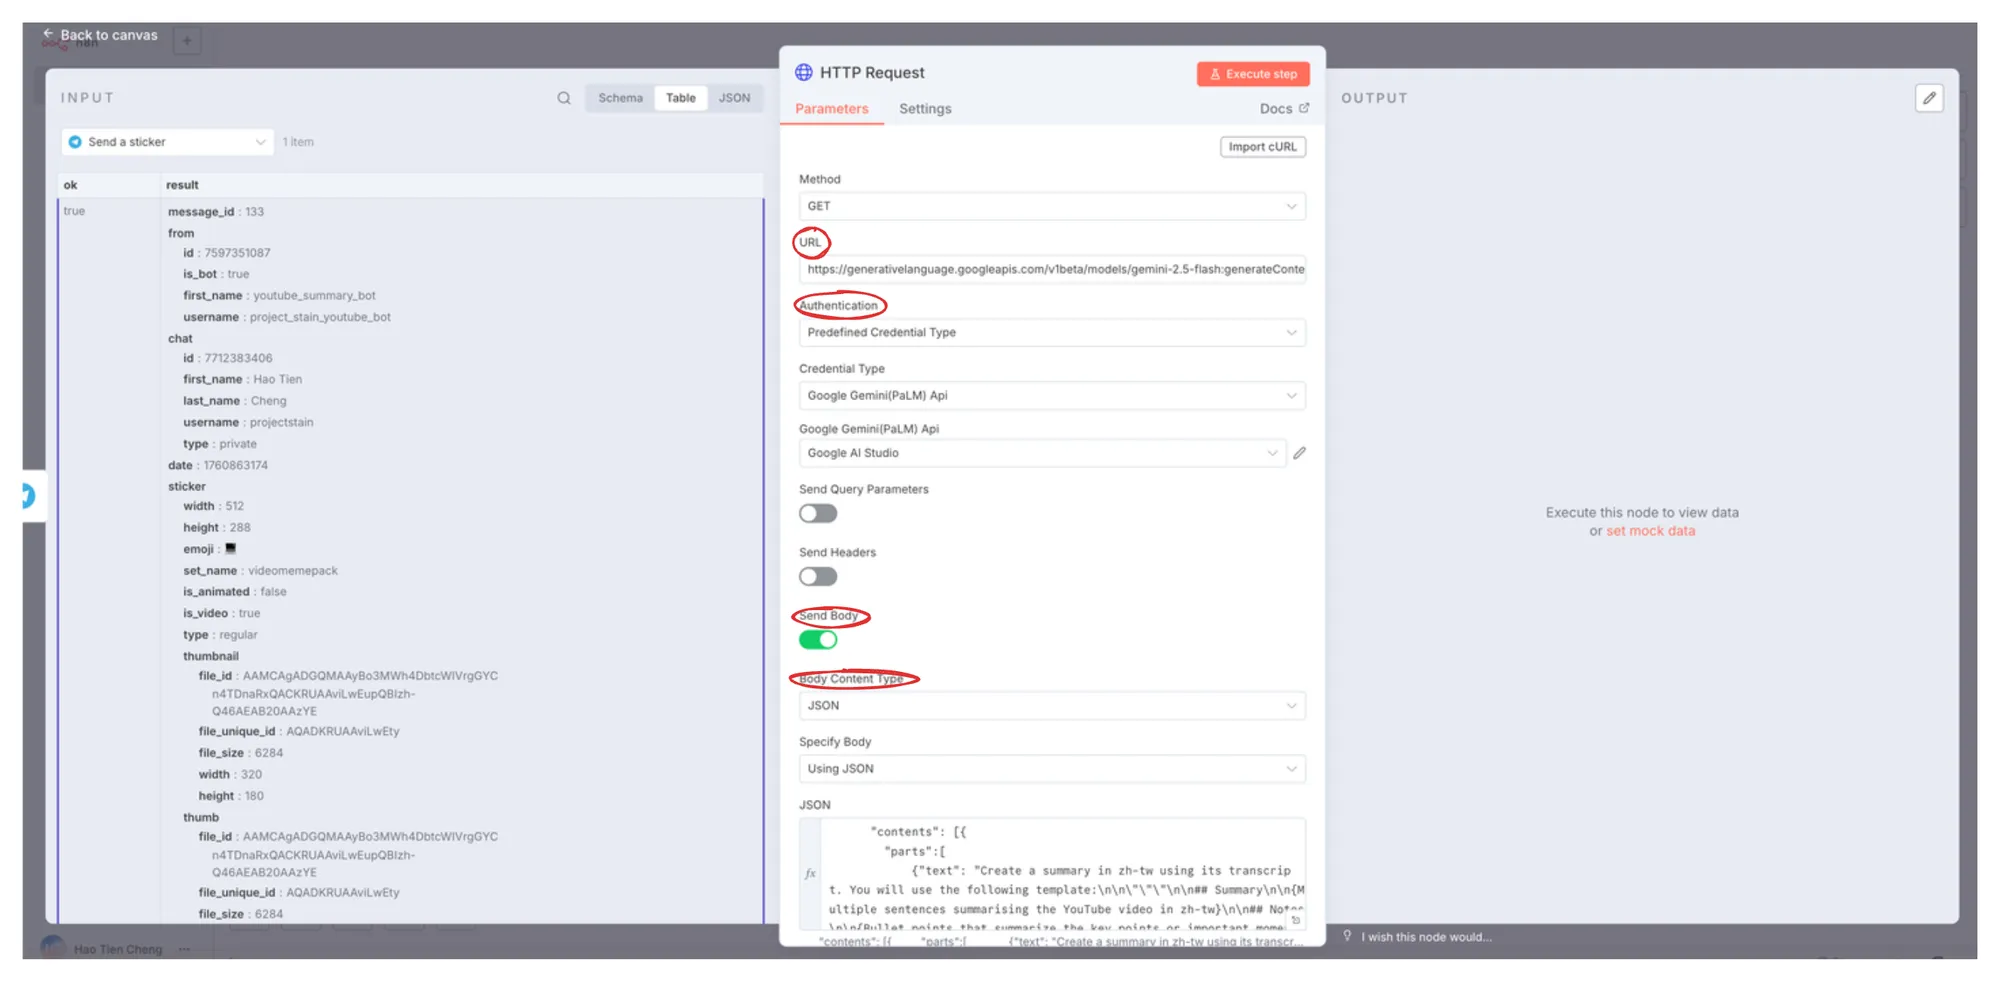
- Select
POSTforMethod - Fill in the
URLfield:https://generativelanguage.googleapis.com/v1beta/models/gemini-2.5-flash:generateContent - Select
Predefined Credential Typefor theAuthenticationfield- Select
Google Gemini(PaLM) ApiforCredential Type - Select the
Google AI StudioAPI Key you just created forGoogle Gemini(PaLM) Api
- Select
- Click
Send Body- Select
JSONforBody Content Type - Select
Using JSONforSpecify Body - Paste the following content into the field
- Select
{
  "contents": [
    {
      "parts": [
        {
          "text": "Create a summary in zh-tw using its transcript. You will use the following template:\n\n\"\"\"\n\n## Summary\n\n{Multiple sentences summarising the YouTube video in zh-tw\n\n## Notes\n\n{Bullet points that summarize the key points or important moments from the video’s transcript with explanations in zh-tw}\n\n## Quotes\n\n{Extract 10 best sentences from the transcript in a list}\n\"\"\"\n\nTranscript: get from the video\n\nReturn Summary and Notes in zh-tw, but Quotes in original context"
        },
        {
          "file_data": {
            "file_uri": "{{ $('Telegram Trigger').item.json.message.text }}"
          }
        }
      ]
    }
  ]
}
Now we can execute Execute Step, and after waiting about a minute, results will be generated.
I specifically chose a video without subtitles as a reference, because the underlying logic is to have Gemini generate a YouTube video transcript, and then generate a summary based on that transcript.

At this point, we're basically done. Next, we just need to return the summary to Telegram to successfully complete this workflow.
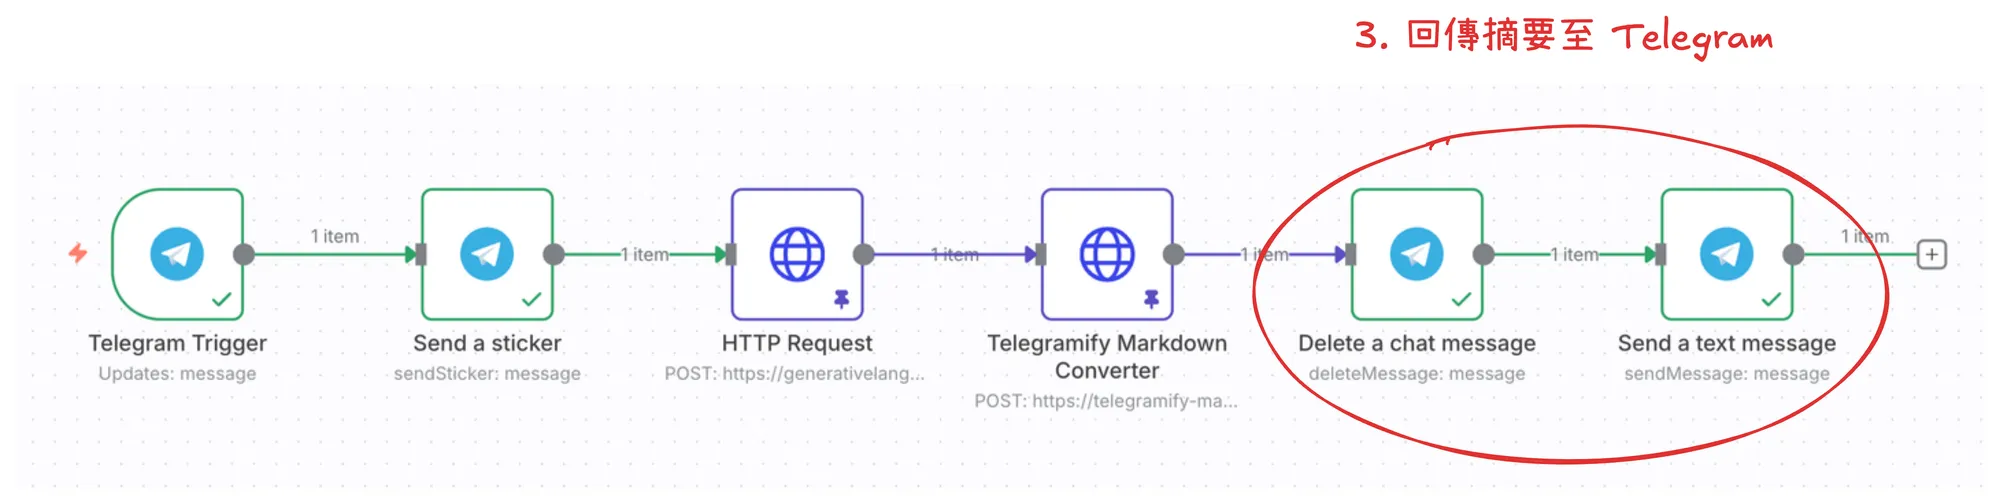
Step 3: Returning Summary to Telegram
Formatting the Summary
Due to Telegram MarkdownV2 restrictions, summaries generated by AI are difficult to meet the requirements, making sending very prone to failure.
Therefore, I used telegramify-markdown + Cloudflare Workers & Pages to deploy a free service to solve this problem.

Add an HTTP node here and fill it in according to the steps below:
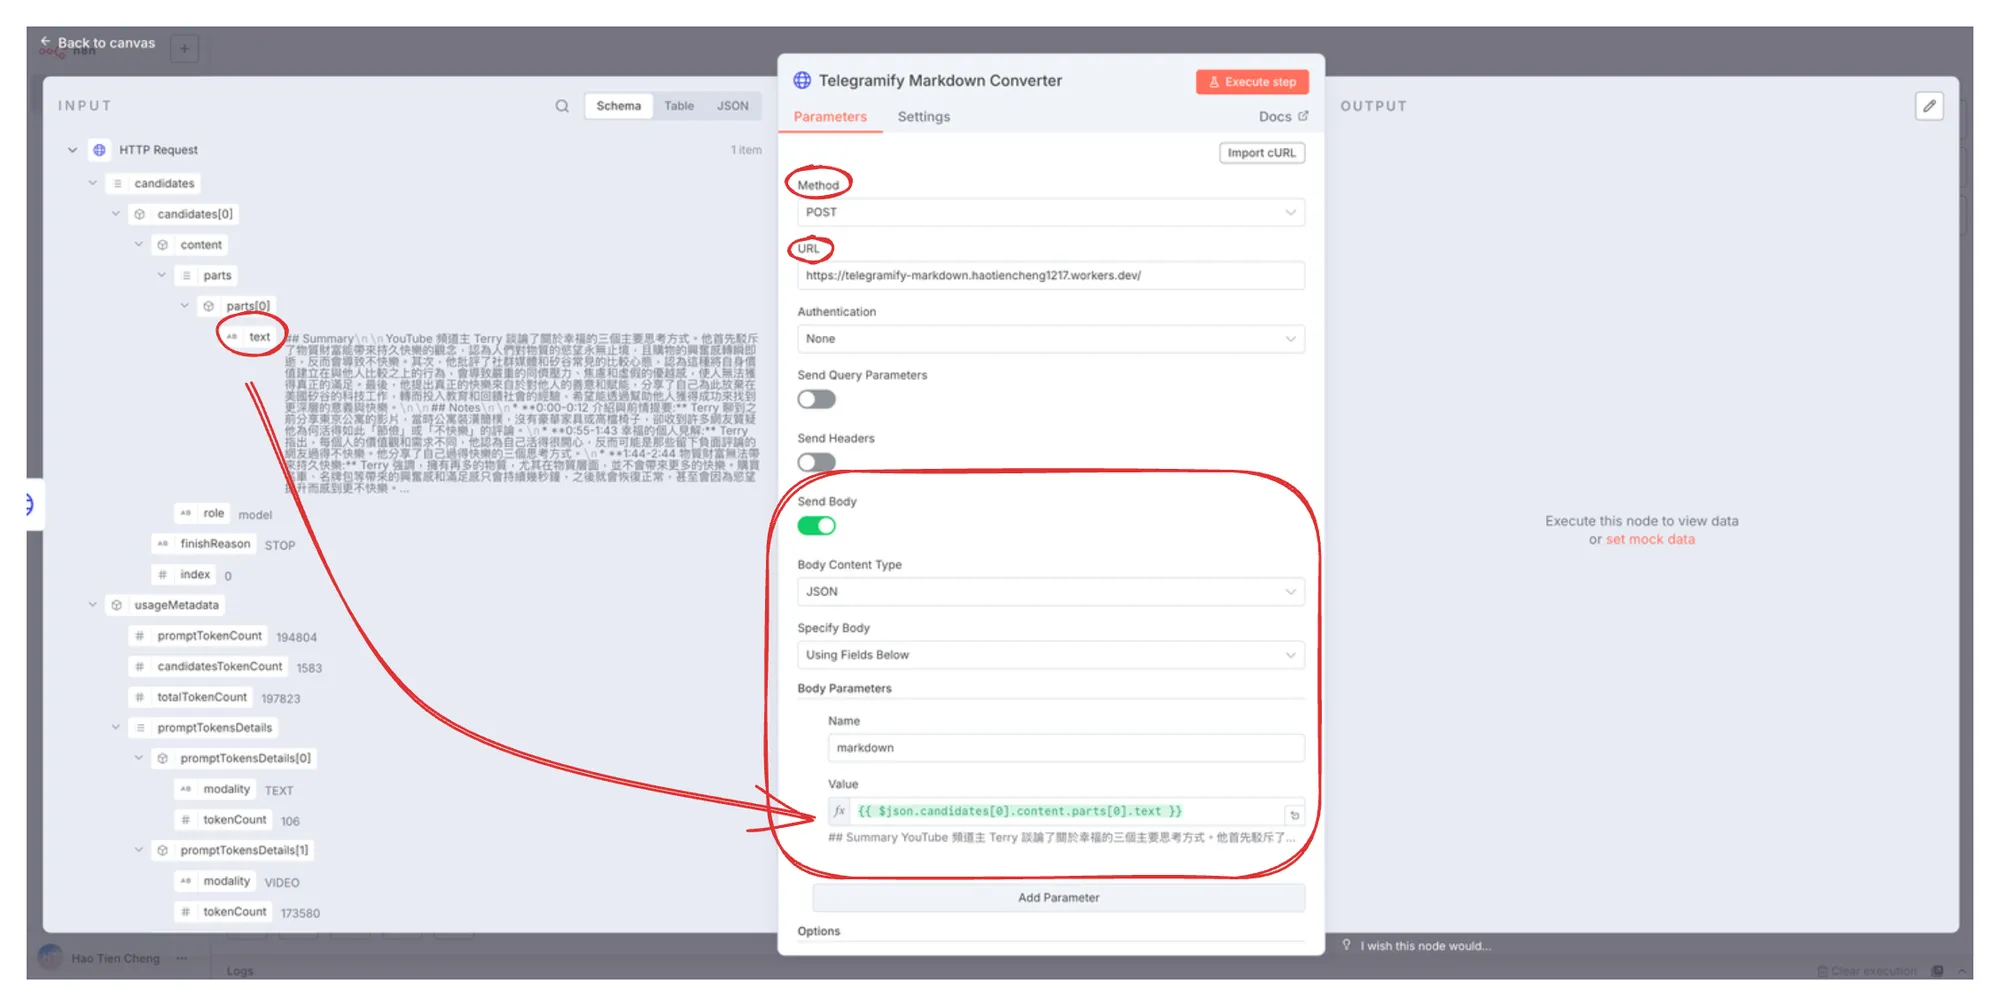
- Select
POSTforMethod - Fill in the
URLfield: `https://api.md2tg.projectstain.dev/` - Click
Send Body- Select
JSONforBody Content Type - Select
Using Fields BelowforSpecify Body - Fill in
markdownforName - Drag the text from the left side to the corresponding field for
Value
- Select
- Click
Execute Stepand the output result will appear on the right side
Deleting Sticker and Returning Summary to Chat Room
The operation here is simple, just delete the previously sent sticker and finally return the summary.
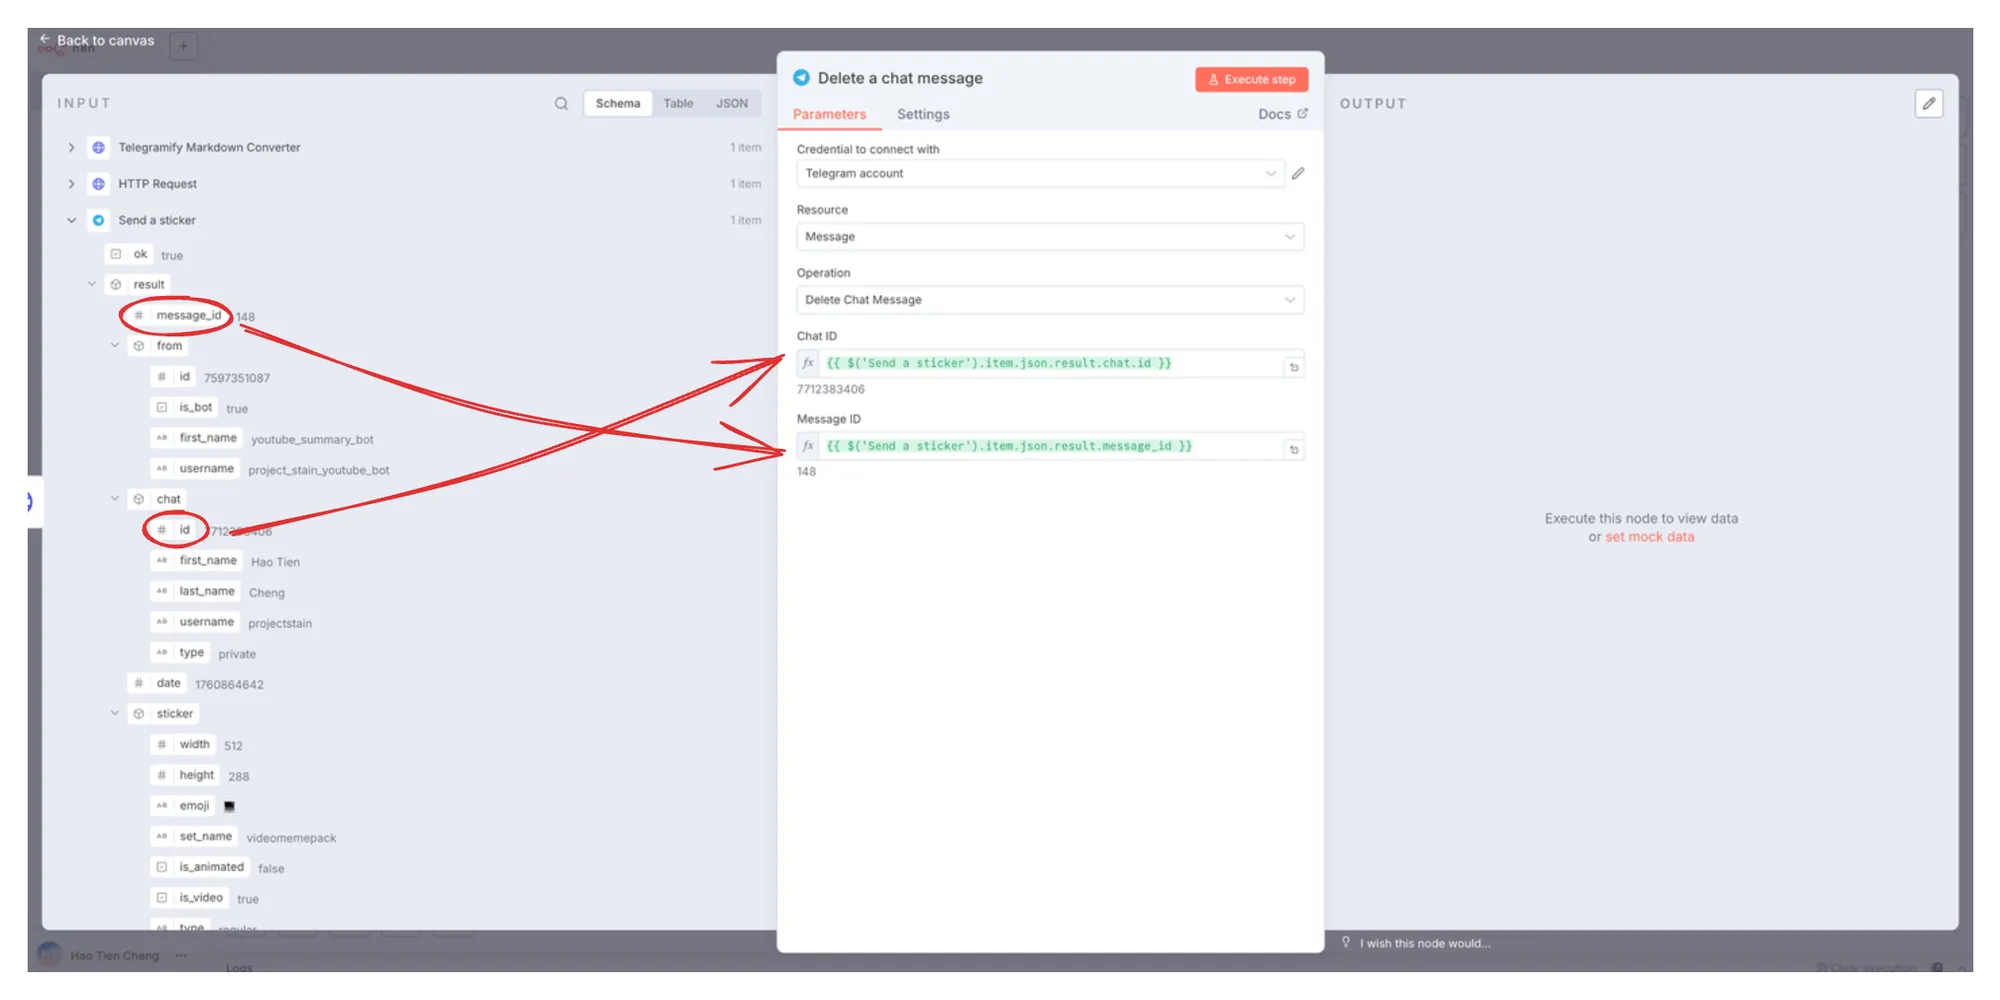
chat_id and message_id to their corresponding fields.Final steps:
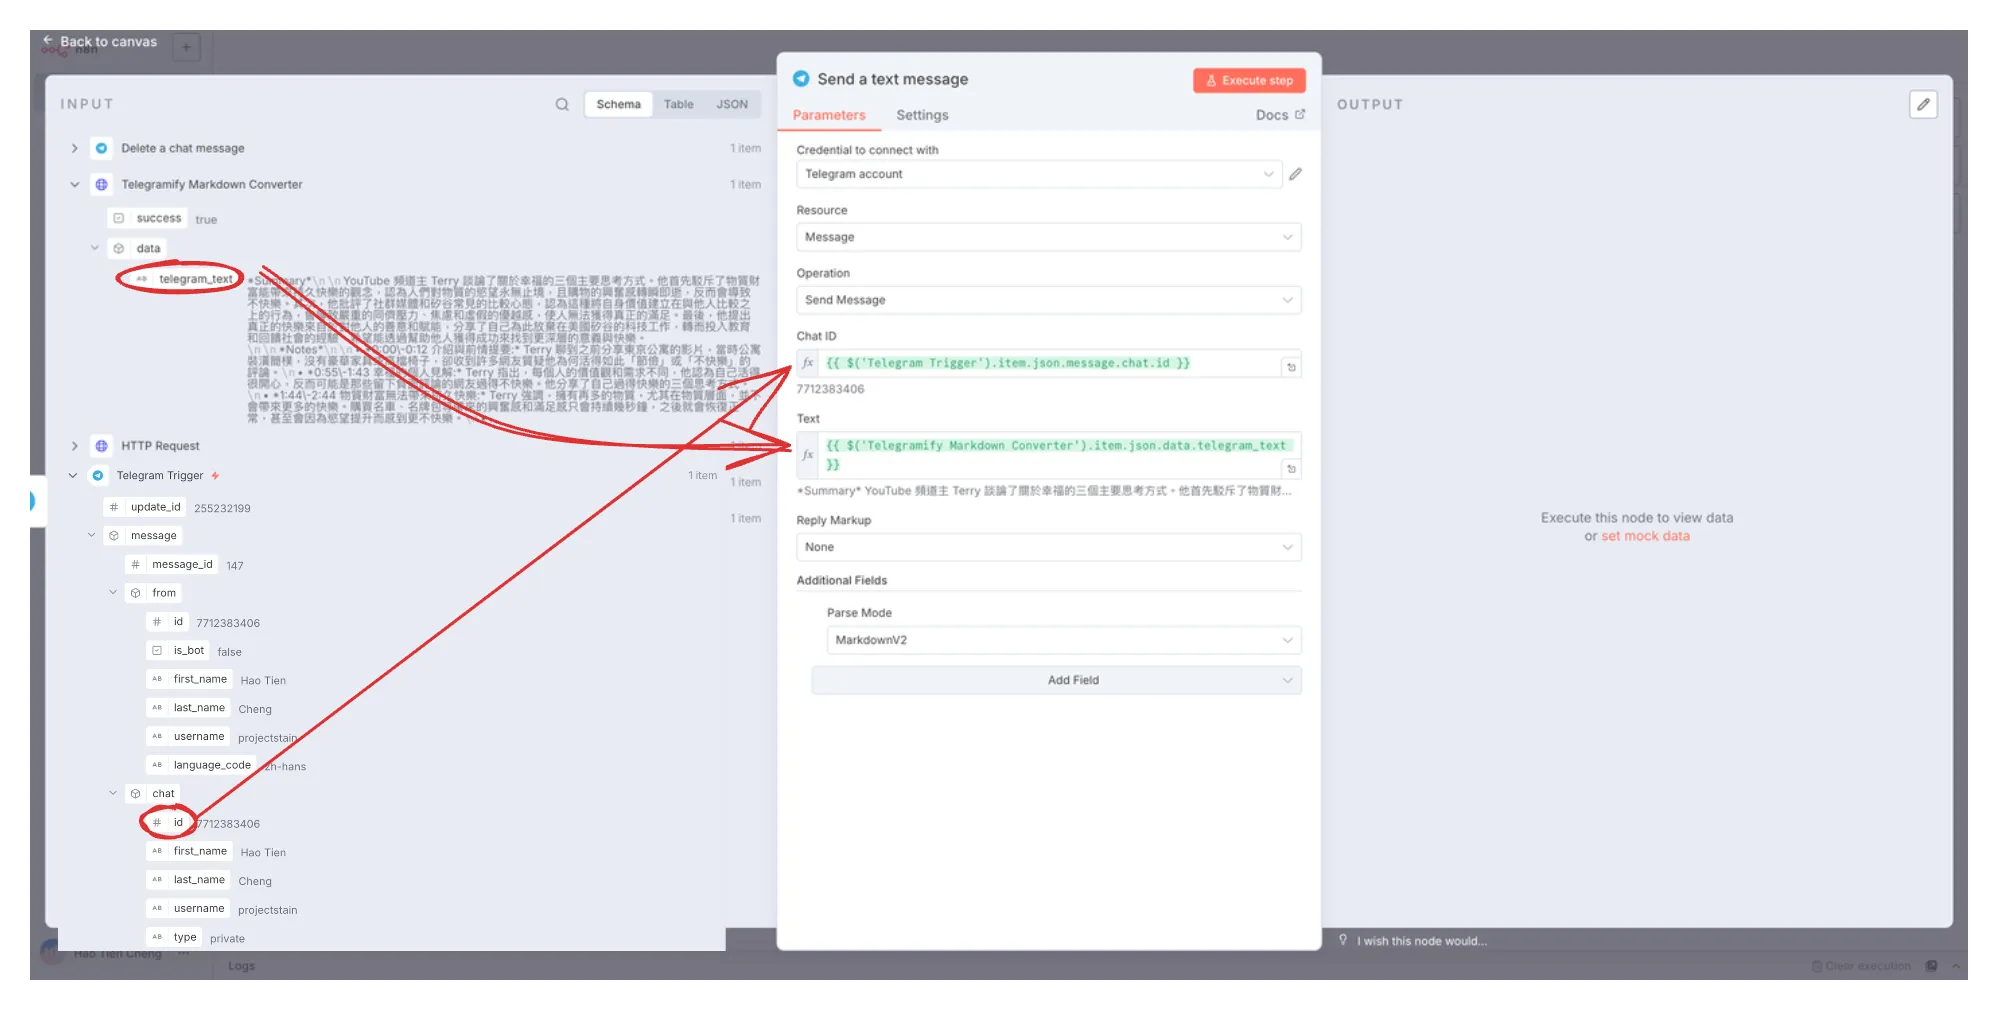
- Add a Telegram
Send a text messageNode - Drag the corresponding
telegram_textandchat_idto the fields - Select
Parse ModeinAdditional Fields- 1. Select
Markdown V2
- 1. Select
- Results will appear after
Execute Step
The Very Last Step: Activate Workflow
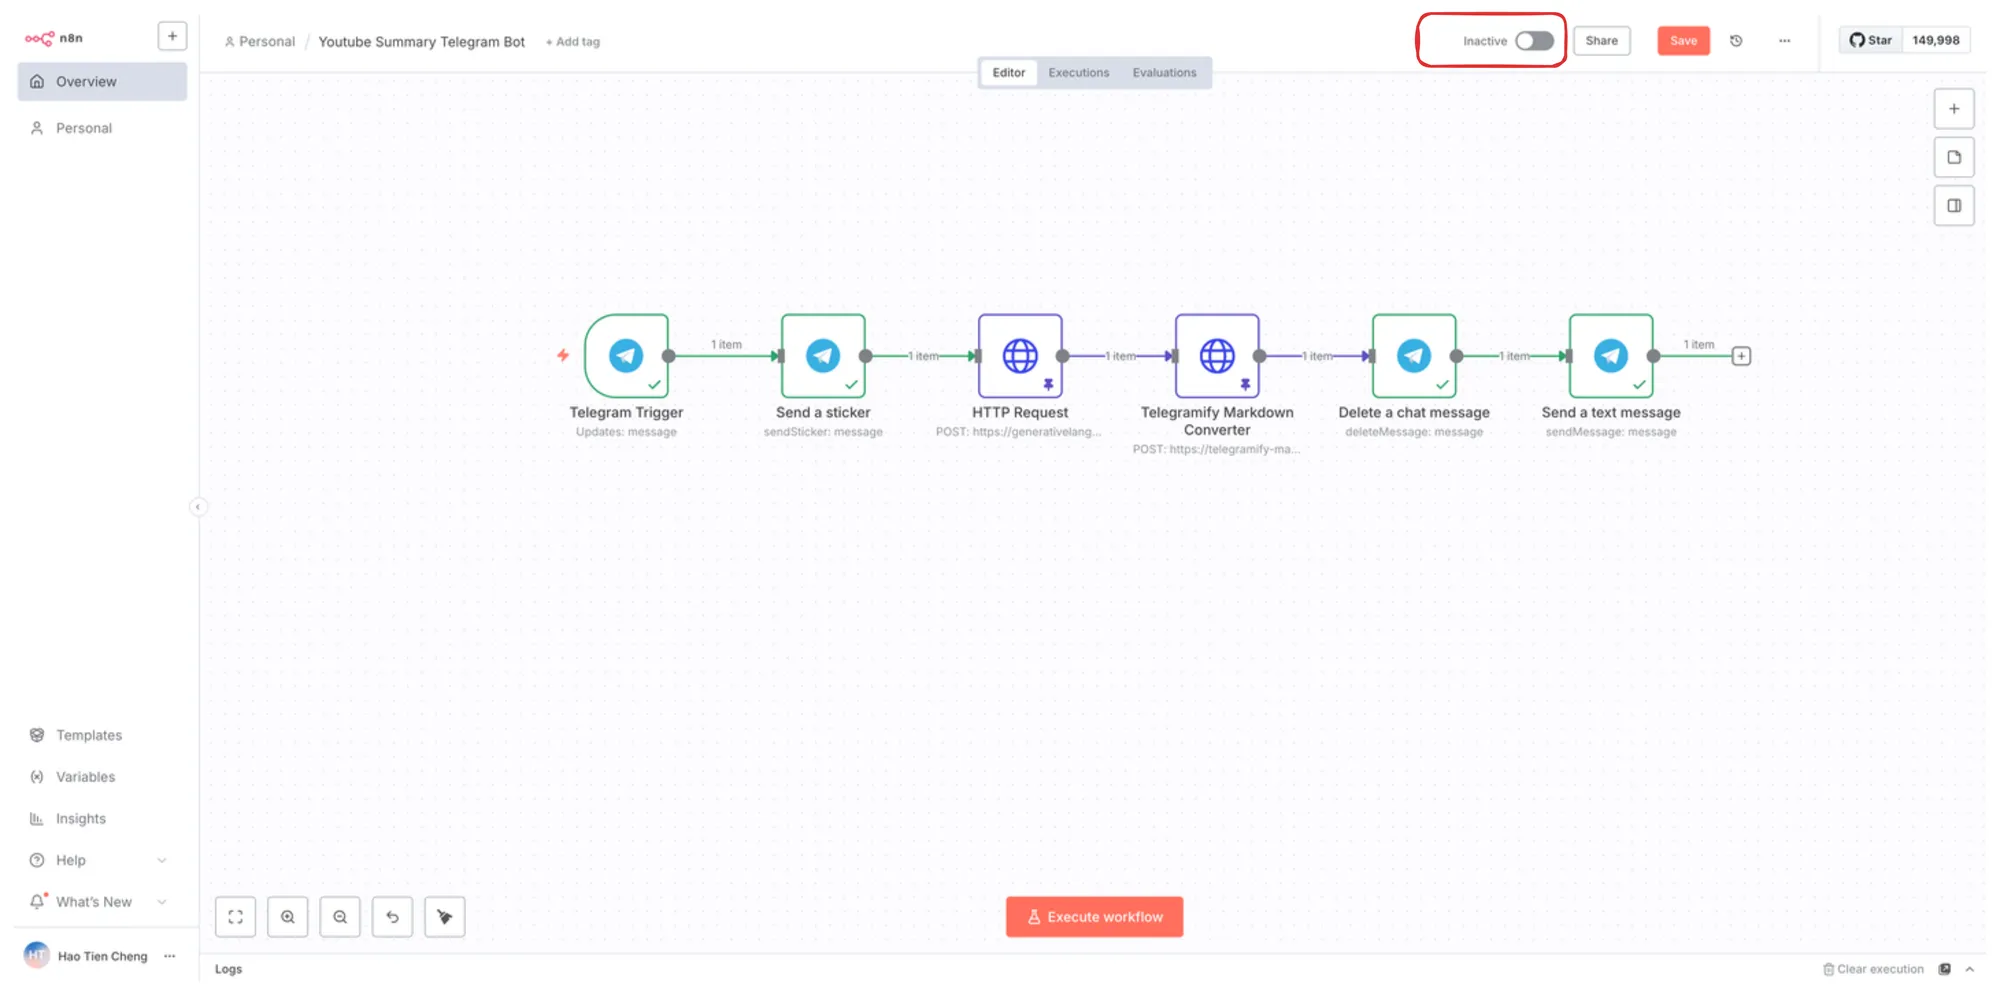
After activating the workflow, your YouTube summary bot is officially complete!
You can now drop any video you want to summarize into Telegram anytime, and it will work correctly on both mobile and desktop versions.
